Decided to poke my nose in here for the first time in a long time and the first thing I see is my name! LOL. I had many of the same questions you do so I guess I can offer my limited experience.
First of all, those tandems you see being held together by baling twine ARE being safe. That is the professionally recommended way to start a tandem because if your leader freaks out or gets a leg over a trace baling twine will simply snap where thick leather traces would hold and potentially cause all sorts of problems. The sight of a new leader hopping on three legs and panicking, perhaps kicking the wheeler trying to get free, is a very scary one! The worst that will happen with baling twine is your leader gets free and you have to go collect him. Just make sure the leader reins do not have buckles; if they were to be attached to each other when he tried to bolt, the reins will get caught on the wheeler's terrets and yank his harness up under his tail, causing all sorts of problems and possible injury.
Baling twine also allows you to experiment with the correct lengths until you find what works for you. Just tie it shorter or let it out longer and try it out! As Fizz pointed out, the leader is not supposed to be in draught so the baling twine shouldn't have to take any weight except in case of emergency. (I doubled mine up just to be sure it didn't break unless I really needed it to as my leader is very forward and I knew keeping him out of draught was going to be problematic at first. LOL) Always carry a knife in your pocket and extra twine to splice things, as well as a header to handle the horses while you make repairs.
You mention ground-driving them everywhere for a long time before you first hitch. Most the time this is great advice and it's important that each horse is solid as a single before you begin, especially with "whoa" and "stand." But if both are accomplished driving horses I've been told it's best to simply hitch and go after an initial ground-drive or two as "walk" is definitely the hardest gait in tandem! The slower you're going, the more time there is for the horses to wiggle and get turned around and most horses aren't nearly as forward at the walk as they are at the trot. If it's working for you then that's great and keep right on going, but my instructors said it was easiest to simply hitch and then get moving in a large open area and let things work themselves out on the fly. As crazy as it sounds I found it to be true! That does assume that the driver is already familiar with tandem rein-handling however so if you're not, practice at a walk or on a rein-board is probably best before you try that.
As for harness, I have made one set of harness work for all three (single, pair and tandem) without too much problem. If you're only going for functional and safe rather than traditionally correct a tandem is really pretty easy to set up. Fizz is right that you can't easily convert a mini single harness to a comfortable pair arrangement but you CAN convert a pair harness to single and tandem with ease. I had the same breeching for single and pair, the only difference was the strap that connected them to either the cart or the breastcollar. To drive single I used shaft loops and holdbacks, to drive pair I changed it out to "cheater straps" on the tug billets (straps that did nothing but connect the tugs and the overgirth straps so they weren't flapping without the shaft loops buckled in) and side holdbacks between the breeching and pair breastcollars. To take the same harnesses tandem I put the shaft loops and holdbacks back on the wheeler harness, removed the breeching from the leader harness and replaced it with a set of shaft carriers (I cannibalized my kicking strap), kept the cheater straps and then changed out the traces to longer tandem ones. Then all you need is the reins and roger rings. More on that in a minute.
To answer your questions:
The length of the leader traces- Jane Moody says, "You want to be able to drive them with about 1/2 a pony length between them at a trot on contact. The wheeler will stretch his/her head down a bit at the walk, and you never want the wheelers front feet interfering with the leaders hind feet, even at a gallop." Play around with baling twine and see what the right distance is for your particular horses.
The leader reins need to be long enough to cover the extra distance from the bit of the wheeler to the bit of the leader plus the length of the wheeler reins. Not trying to be facetious but it's different for everyone! I tried to get a concrete answer when I started and nobody had one for me. Someone said 18ft, I ended up measuring my favorite single reins and then literally measuring the distance between my two horses when they were hitched up tandem-style.
Wheeler reins are normal single reins.
For a whip I used an old lunge whip I had with a broken off shaft, I know friends who had them custom made by UltraLite Whips or used the telescoping whip I think Ideal Harness carries.
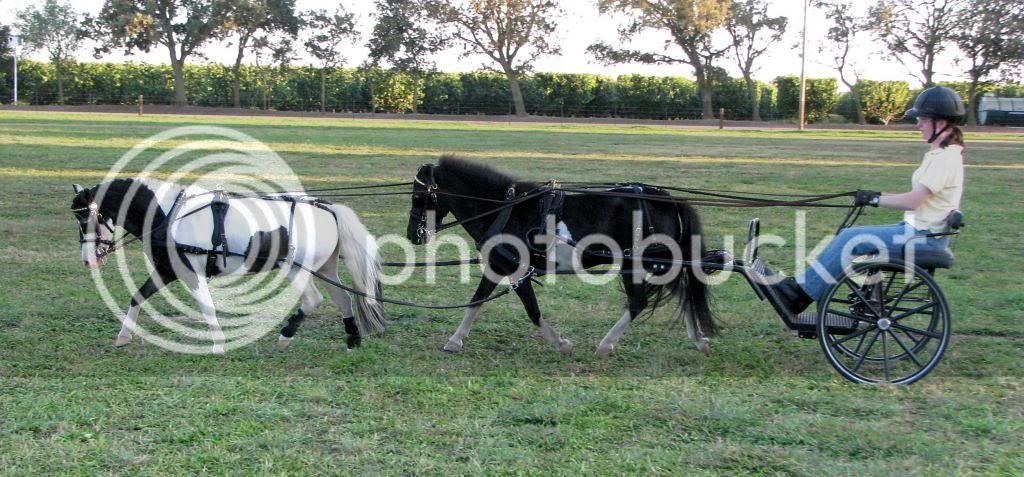
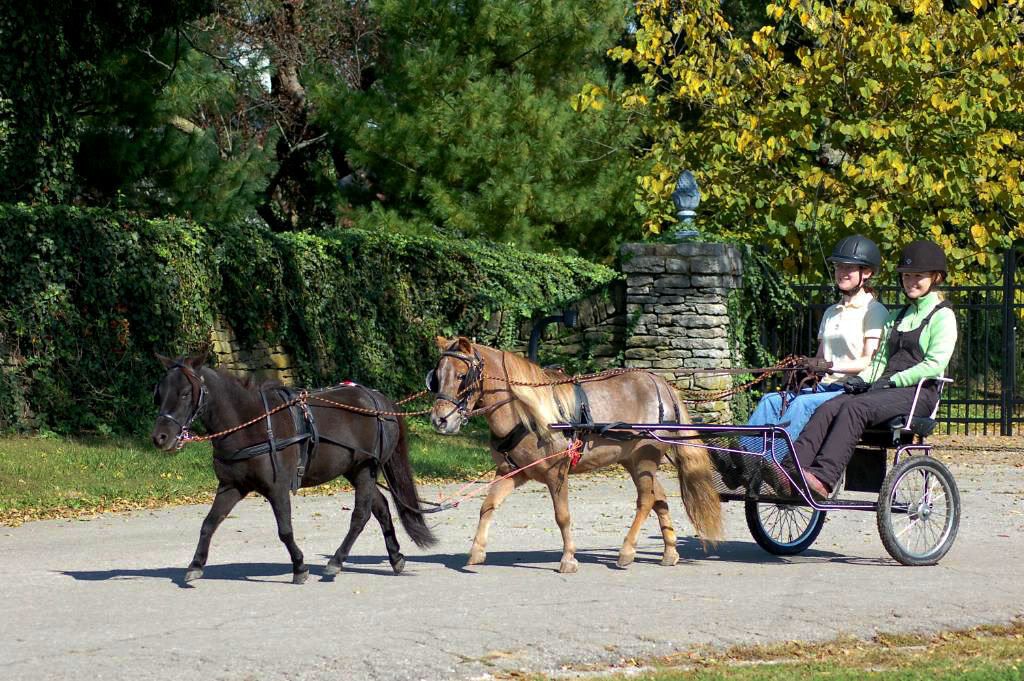
Roger rings versus tandem rosettes: I have some old coaching books that talk about these but as I recall it tandem rosettes were the original way to do things. They kept the reins firmly where they were supposed to be and worked very well with a couple of high-strung, high-stepping coach horses going down a straight road with their heads checked up high and steady. The problem with tandem rosettes is that if your wheeler tosses his or her head a lot the leader will get jerked in the mouth, and if the leader swings around sharply the wheeler's head gets pulled around pretty hard. You can see in this photo how many changes of direction the lines make with tandem rosettes, even with minis.
I prefer the gentler line made by Roger rings.
(Ignore the fact my leader was totally falling in, we'd only been driving tandem about 30 seconds in that shot. LOL)
As checks fell out of favor and people started getting into doing tandem for CDE and similar cross-country endeavors someone came up with the bright idea of roger rings. These rings are attached by straps and give quite a bit more play depending on the design, allowing for changes in the elevation of the wheeler's head without effecting the leader and easing the pull of those tight turns. I personally prefer roger rings but in my limited playing with my own tandem didn't get the opportunity to experiment and see which version would work best (crownpiece attachment, throatlatch attachment, long throatlatch attachment). I know the last time I drove the straps on my make-shift rings ended up longer than I meant them to be and they kept flipping up over my wheeler's head on turns, which got awkward fast. I think perhaps the type that attach to the throatlatch would be worth trying, or have a set that tie together loosely under the jowl so they can't flip up but can still swing out to the side.
Safest method of attaching leader to wheeler to me is one Breanna Sheahan showed me. She used modern quick release snap shackles to connect the ring on the wheeler's breastcollar to the ring on the back of the leader traces which meant that when someone hopped a leg over a trace and it was under tremendous pressure, not only did you NOT have to cut the harness, NOT have to risk fingers fighting with a snap or buckle, and NOT have to wrangle a panicked horse while you did so, but it only took moments to release the trace in question and hook it back up again. Very important on a cross-country marathon where seconds count! Not that speed is going to matter to you particularly, but it is a safe and sensible way to do it with a green tandem. QR snap shackles are meant to release when under pressure while regular snaps require slack.
As far as hardware sizes, I think Breanna used pony-sized stuff and that worked fine. I have a leather tandem harness for minis I purchased used complete with tiny tandem rosettes, wheeler terrets, etc., but simply found it was hard to get all those reins and buckles through such small openings. Most people I know don't bother with the wheeler terrets as they really don't seem to be necessary on such a small setup.
Thanks!!! I'd love to see picture of other mini tandems!
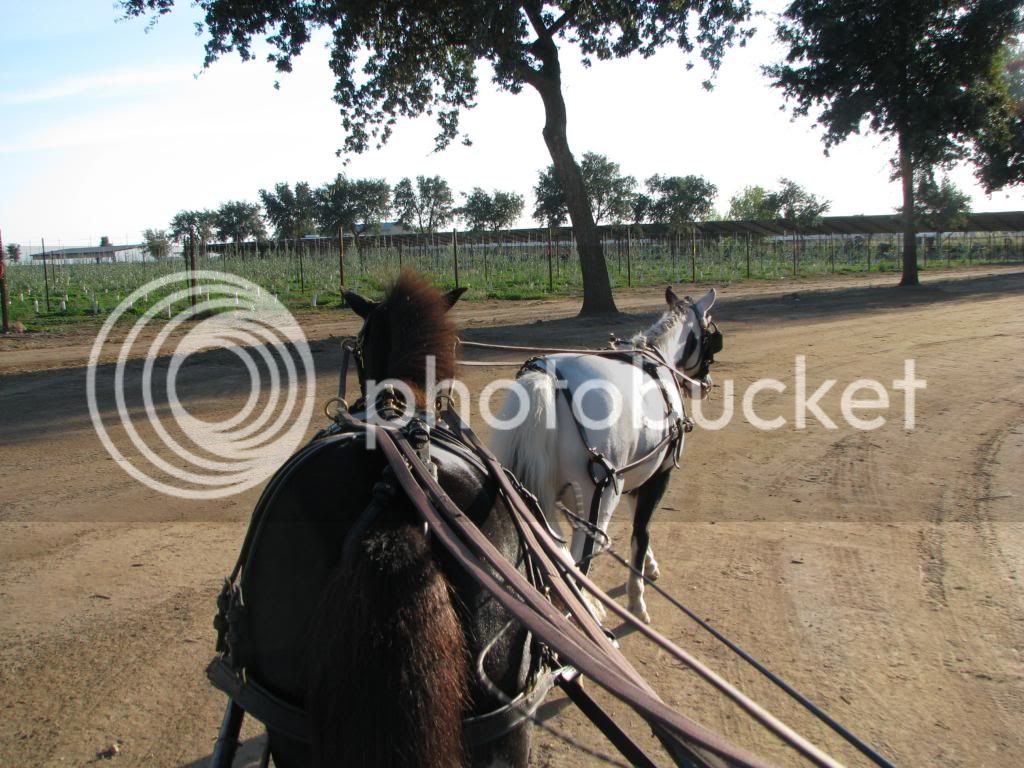
This was the very first tandem I was ever privileged to drive back in 2009. My friend Breanna Sheahan (minihgal) needed a navigator for her Preliminary VSE tandem so I flew down to Shady Oaks in Lodi, CA to join her at a clinic. After getting a driver's eye view while she drove the full cross-country course with them I was handed the reins and coached through it by an expert. It was so much fun!
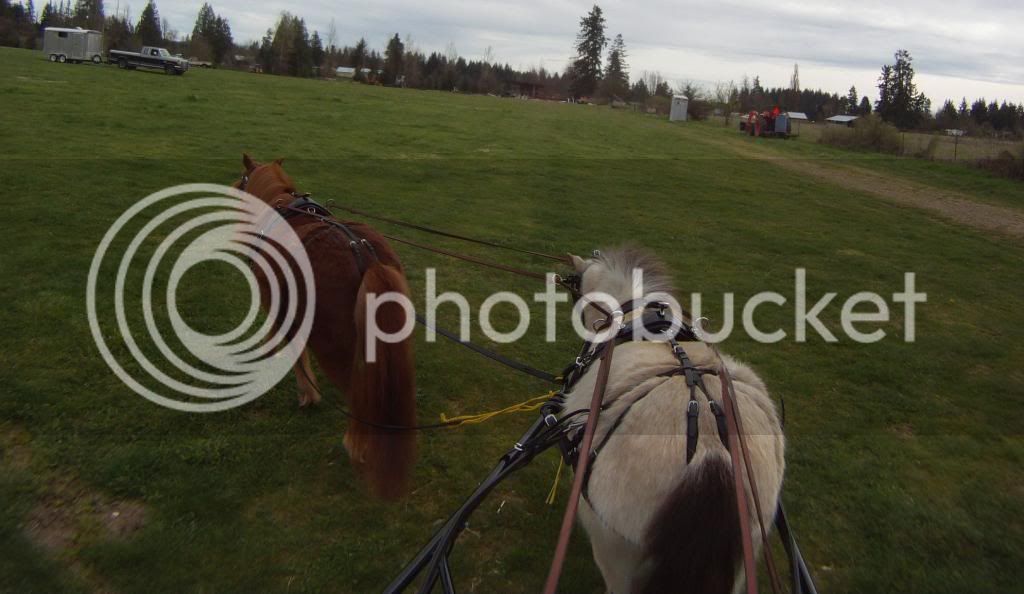
Then at the National Drive in Kentucky a month later (yes, I got around that year!) I helped a friend put her two mares together in a tandem for the first time. They were amazing and both their owner and I were grinning like loons before long.
You can see I put sliding side reins on the lead mare because she kept trying to throw her head up dangerously above the bit and since it was the last day of the drive I didn't have time to fix the habit and still get the tandem together. The sliding side reins reminded her to reach forward and down but didn't interfere otherwise and we were able to take them off after a little while once she remembered how she was supposed to be acting.
To be continued, too many pictures apparently.